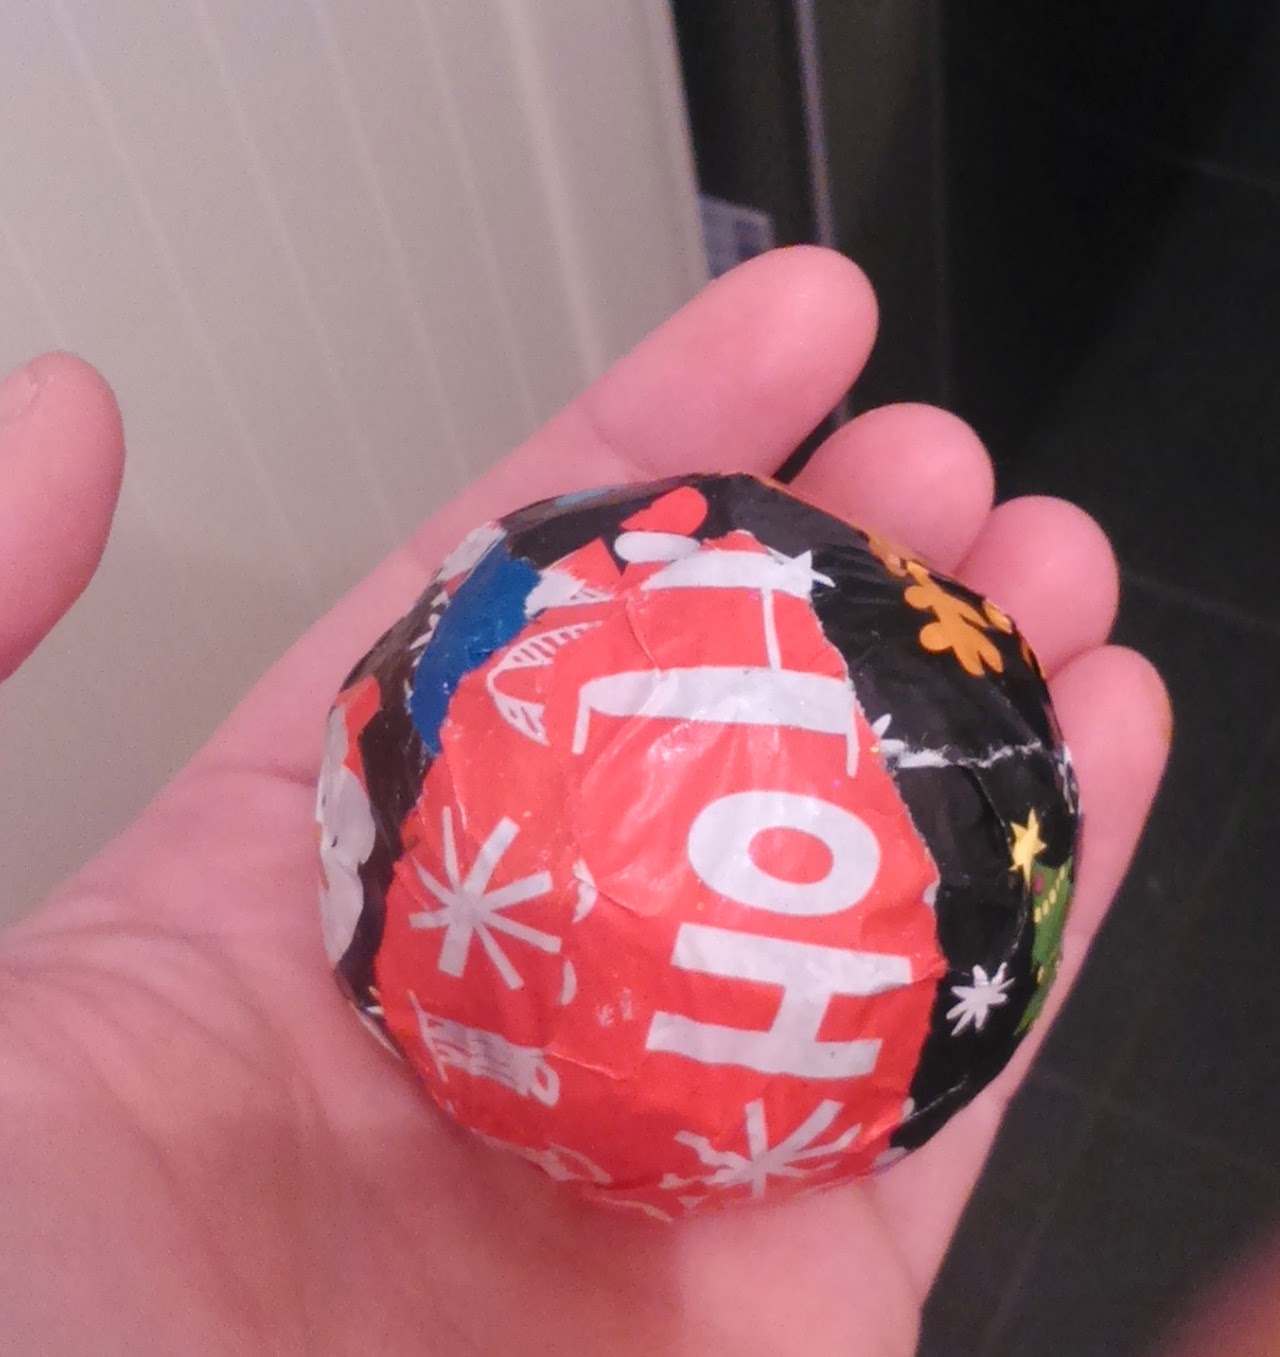
This is a bit of an addition to my Paper mache Father Christmas decorations, rather than a completely new post or idea.
Basically you follow the instructions in the Paper mache Father Christmas decorations post to create a solid paper mache base, but then instead of proceeding to paint it pink and turn it into Father Christmas, we go down a very slightly more tasteful route!
You will need
Begin by carefully ripping out motifs from your Christmas paper - e.g. a whole reindeer or penguin, the words Merry Christmas, or whatever is on your paper.
Set these aside, they go on last to ensure that they remain whole and are not covered by other layers.
Now rip the rest of your Christmas paper up any way you like.
Cover your bauble with glue and then build up a layer of Christmas paper.
Once the whole bauble is covered with bright Christmas paper, add the pieces you set aside earlier as a final layer, trying to keep the motifs whole.
Finally, once dry, take your needle and firmly, but slowly, push it through the top of the shell and pull string through to create a hanging loop.
Then you're done!
So these are simple paper mache decorations, built from scratch using nothing but scrap paper and then decorated with felt.
However, they are also my revenge Christmas decorations! Every time my mum visits she brings more and more toys and bag loads of plastic tat, which subsequently ends up strewn across my living room.
As way of thanks, little Nutmeg and I are making her lots of very beautiful Christmas decorations which I am sure she will treasure (and feel obliged to display!)
As each layer is added it will need to dry, so this is a project that we have been adding bits to every day this week. (Perfect for a 3 year old who gets bored quickly as she can do a little bit each night)
You will need
- PVA glue mixed with a dash of water
- Paint brush or glue spatula
- Balloon (or water bomb for nice round shape)
- Scrap newspaper or brown paper
- Pink paint or pink paper
- 1 sheet of red and 1 sheet of white felt (or thick paper)
- Black pen
- Scissors
- Toilet roll tubes (optional)
Getting started
Blow up your balloon to the desired size. My decorations are going to be hung on a tree, so were kept quite small, but there is no reason why you couldn't go BIGGER!
Mix some PVA glue with a little water
Rip up your scrap paper into small pieces (it is important that it is torn and not cut so that the edges blend better)
Next begin covering your balloons in glue and then paper, painting each piece of paper with glue as you go
Once the balloon is covered in paper, it's ok to add a second layer of paper immediately.
After this, place your balloon on a toilet roll while it dries (avoid it sticking to the table etc)
Once completely dry it's time to burst and remove the balloon...
Make sure that you are holding the end of the balloon as you burst it to ensure that the balloon doesn't fall inside your decoration.
Then gently wiggle it out through the hole.
At this point your decoration should be quite firm, but would benefit from a couple more layers to give it extra strength and to cover the exit hole.
Paint the whole decoration with glue and add 1-2 more layers of paper.
Standing the decoration on a toilet roll tube may make this easier and avoid sticky fingers.
After letting decorations dry over night, either paint pink them or cover them in pink paper
Either way, they will need to dry again...
Now for decoration
To make the hat, draw a circle on the red felt/paper and cut it out.
Cut this in half and then wrap it around to create a cone. Gluing down the seam.
Add a strip of white along the bottom and then add details like a beard, mouth, eyebrows and eyes
My final step will be to put a piece of white wool through the hats so that they can be hung on a Christmas tree.
Alternatively you could colour/decorate the toilet roll tube and display your Father Christmas as a standing decoration.
With the 3rd balloon we covered, we will be making an angel/fairy for the top of the tree next week. Isn't my Mum a lucky Grandma!!!
(Please see also a slightly more tasteful version of this craft project where the baubles are covered in Christmas wrapping paper - Christmas tree baubles )


